Introduction to Inkscape
Step 01
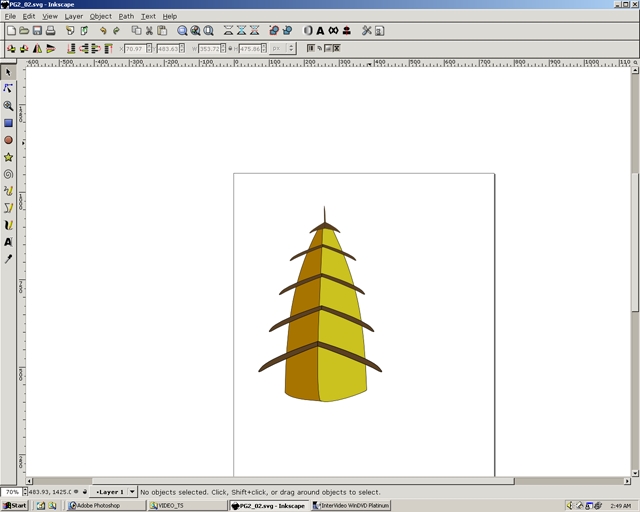
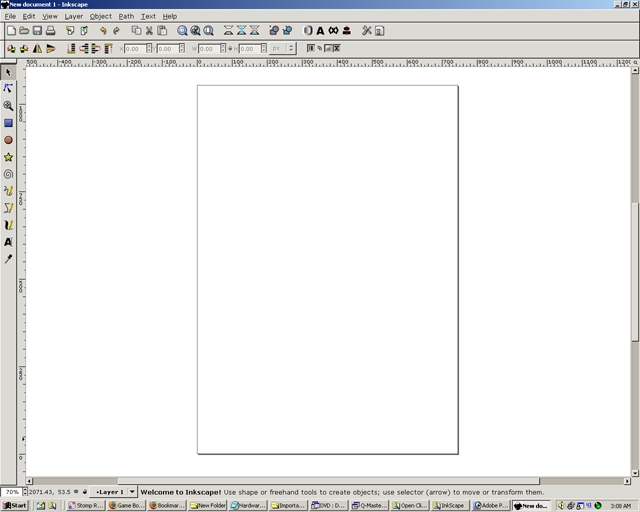
Inkscape is one of the few great free vector programs that has truly matured over the past few years. Although its export capabilities are somewhat less to be desired we can only hope in the next few years svg takes of as a format. Opening inkscape should look like this. We will be making a basic pagoda logo.
Step 02
Select the draw freehand tool in the left hand side of the screen. Draw a line and make a shape. Make sure the end part of the line connects with the beginning. If they are connected then the square at the beginning of the line will turn red.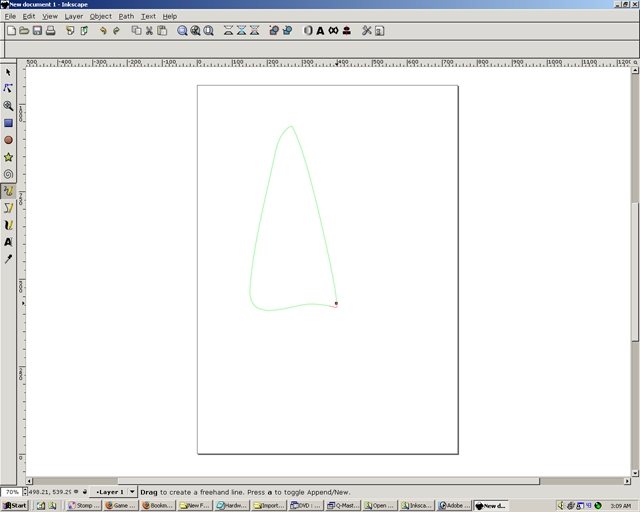
Step 03
Now the line is a complete shape.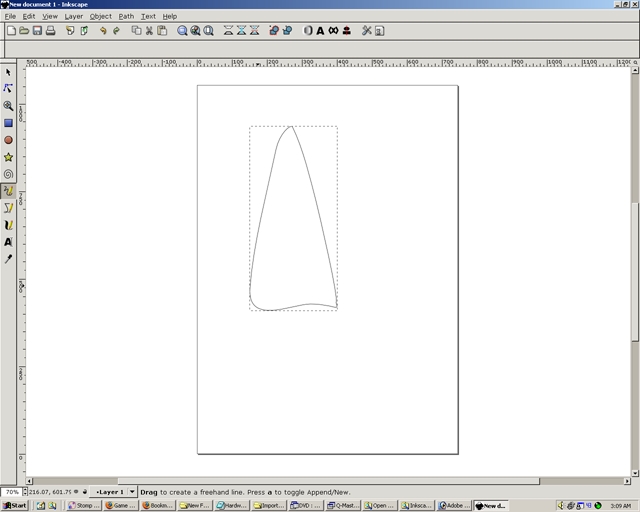
Step 04
The shape should have a square made up of dotted lines surrounding it. Select the edit path nodes tool. It is the second icon down from the left side. Now the nodes and control handles should appear. The squares are nodes and the lines with circles on the end are control handles.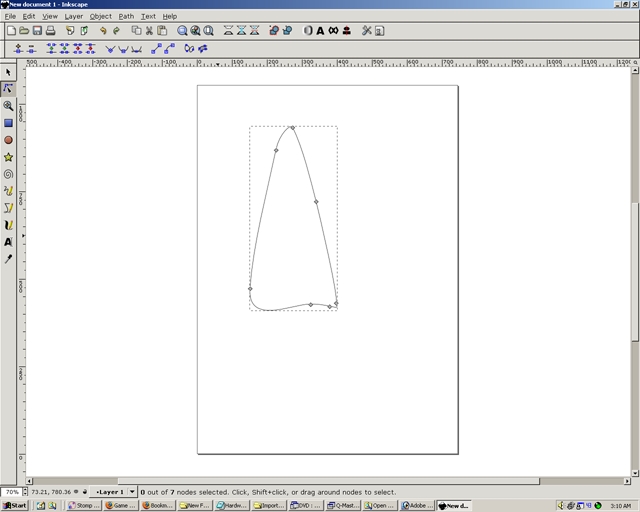
Step 05
Select a node by left clicking the mouse on it.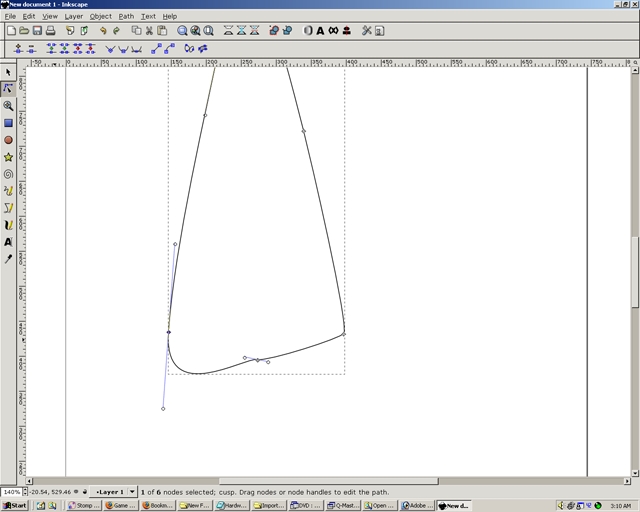
Step 06
Move the control bars by holding the left mouse button on one of the circles and moving it. NOtice the shape changes based on how you move the control bar.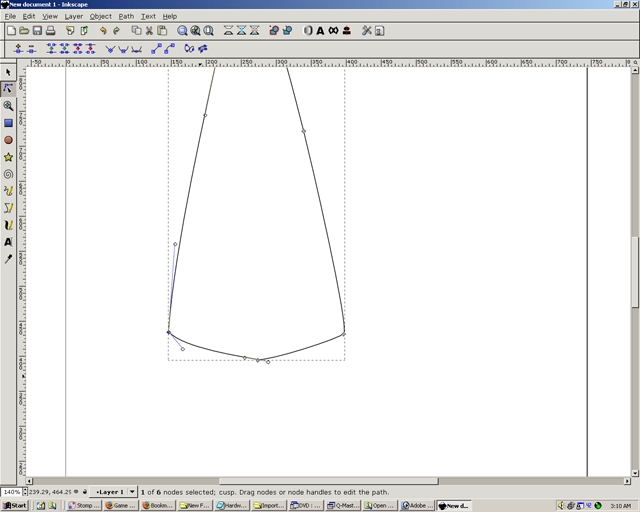
Step 07
Select nodes and adjust control bars until the shape looks the way you want it to look.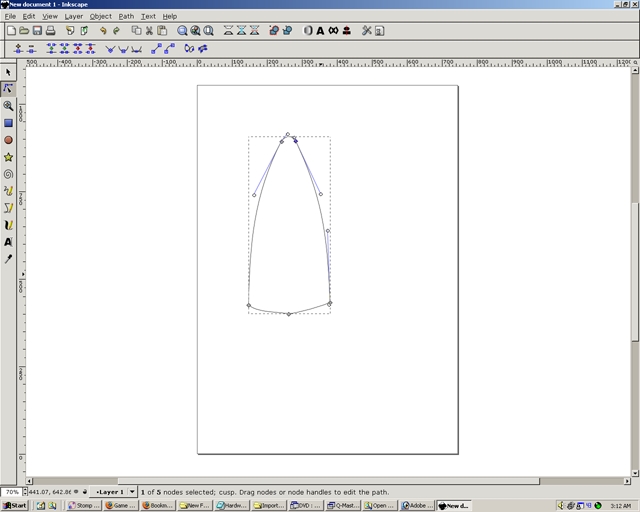
Step 08
Change back to the select tool(the top left tool) and make sure the shape is selected. If it is selected there will be a box surrounding the shape. Go to the menu bar and select Edit>Copy. Then go back to the menu bar again and select Edit>Paste.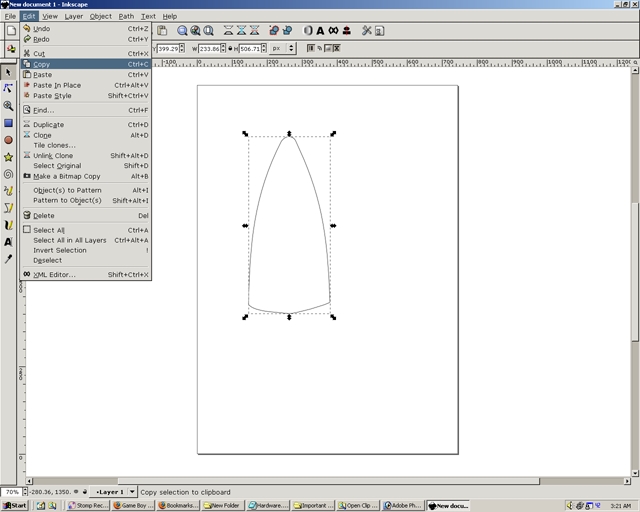
Step 09
This will make a copy of the shape.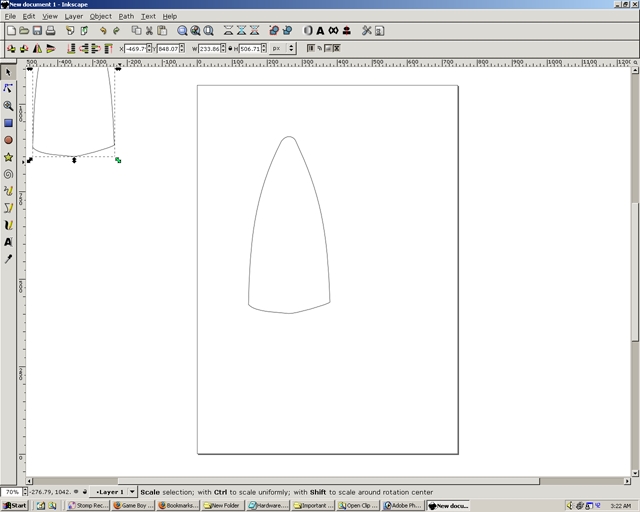
Step 10
Move the shape by holding the left mouse button on the shape and moving the mouse.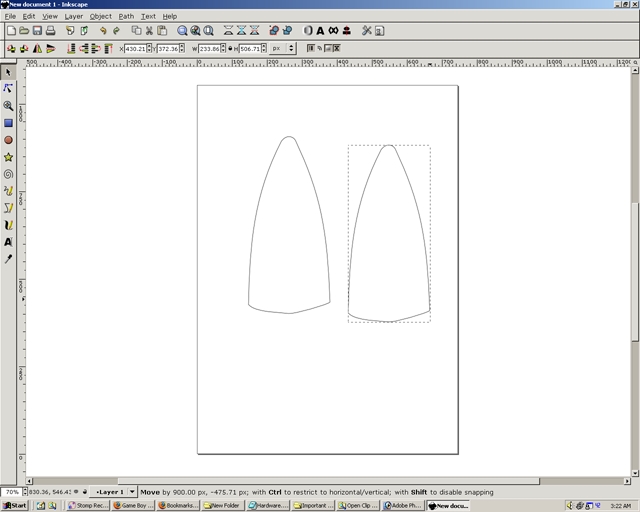
Step 11
Adjust the shape by moving(and possibly deleting) nodes and moving control bars. Move the shape over the other shape.
Step 12
Ajust the shape better if necessary. Select the Bezier drawing tool(below the freehand drawing tool)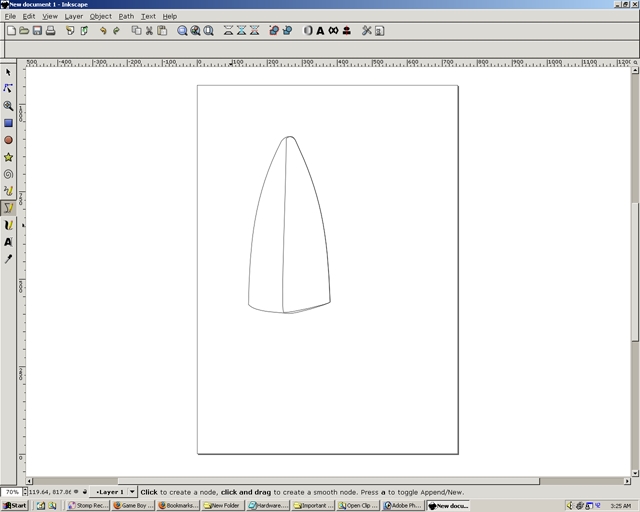
Step 13
Zoom in by pressing plus(zoom out by pressing minus). Move the view by holding down the middle mouse button and move the mouse.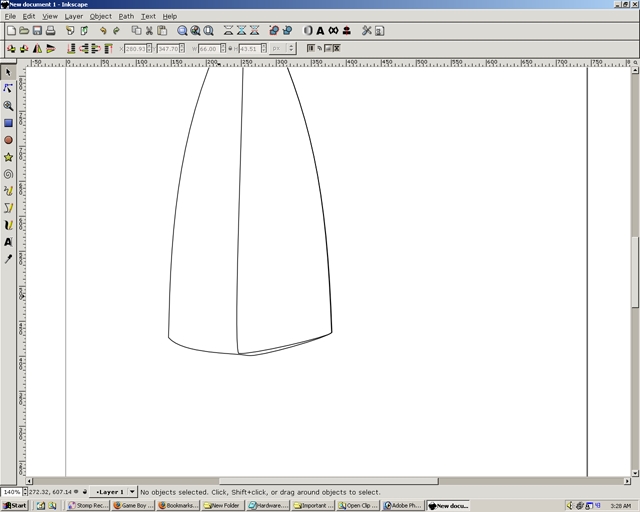
Step 14
Left click the mouse to start the line. Right now the line will be straight.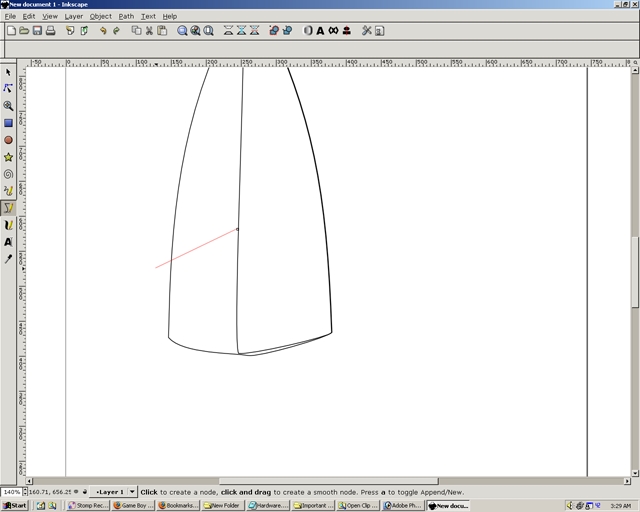
Step 15
Left click the mouse button again but keep the mouse button held down and move the mouse. This will make a control bar appear and allow you to manipulate the curve of the line.
Step 16
Repeat the process as done in the previous step.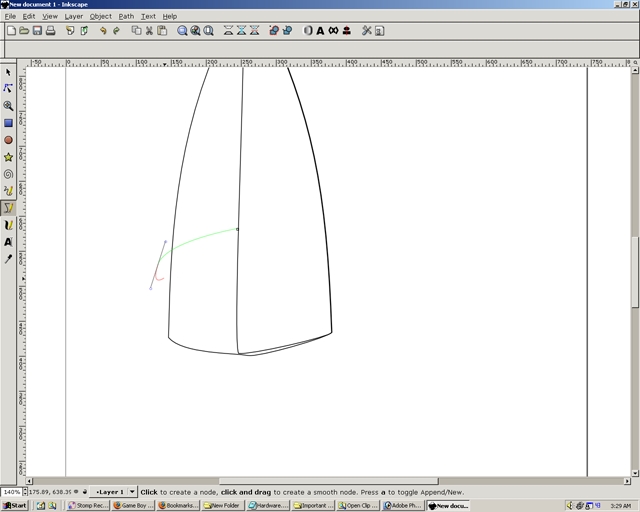
Step 17
Notice how the curves of the line are changing according to how the previous curved line was made.
Step 18
Draw more lines as necessary.
Step 19
Like before with the freehand tool, connect the shape by moving the end line over the beginning node so that the node is highlighted once again.
Step 20
Now there shoudl be another shape.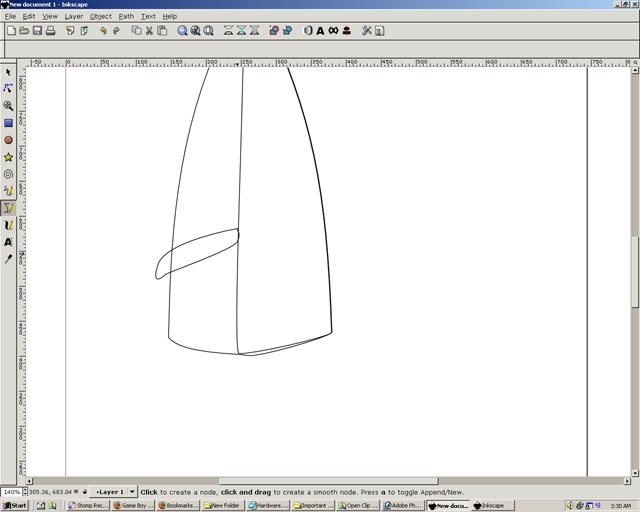
Step 21
Sometime a dialog box will appear noting an error or some such thing. NEVER close this! If you do, the program and all you artwork will close with it. Just minimize the dialog box. It won't hurt anything having it minimized.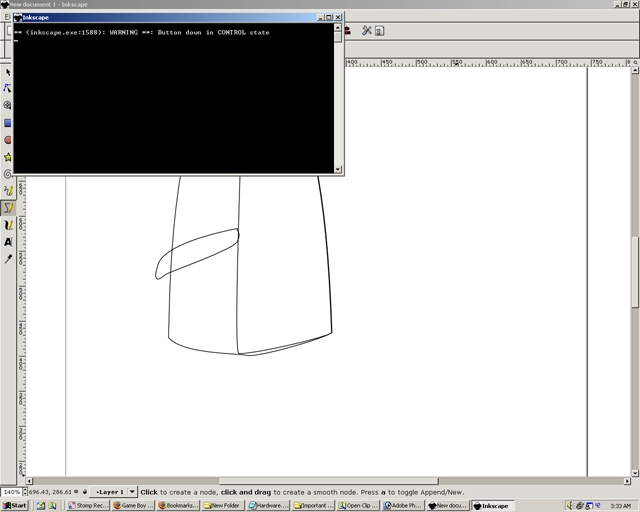
Step 22
Go back to inkscape.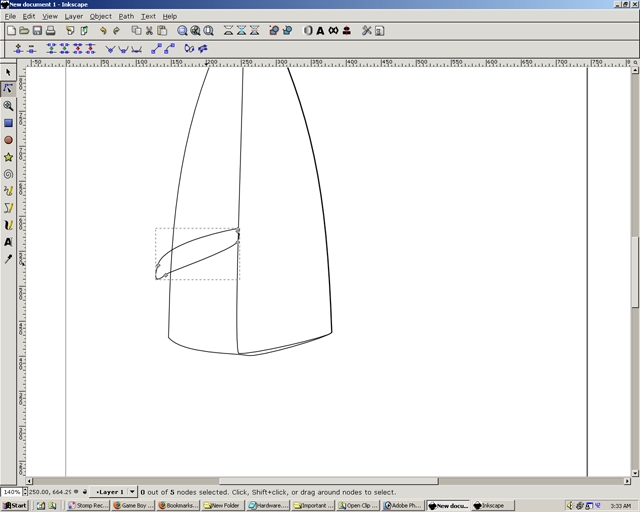
Step 23
With the select tool click on the shape. Move the arrows surrounding the box to adjust the width, length, and size of the shape.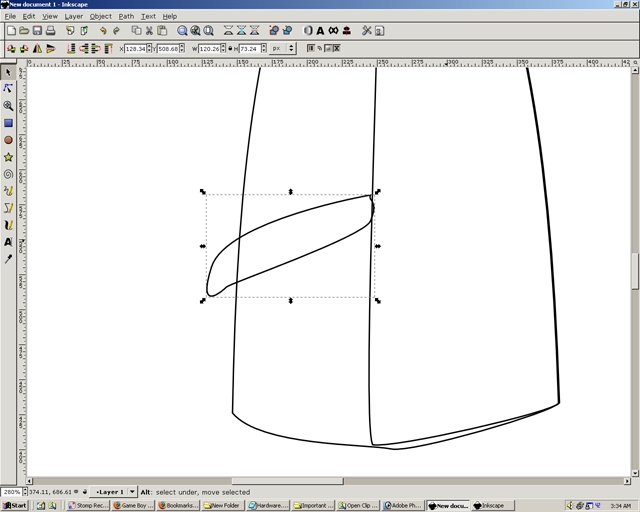
Step 24
Go to the node selection tool and click on the shape if it isn't already selected.
Step 25
Zoom out if necessary.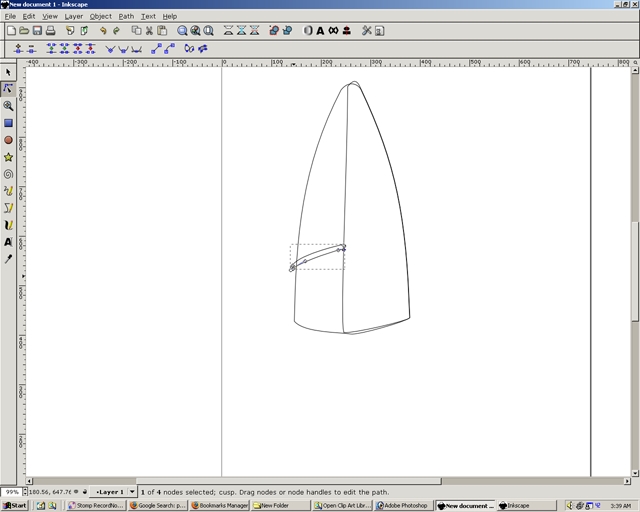
Step 26
With the click left mouse button and hold it down while dragging will cause a selection rectangle to appear. Drag the selection rectangle over some nodes.
Step 27
Move you mouse cursor over one of those selected notes hold the left mouse button and drag the node to a desired place. Notice all the nodes selected move with the selected node.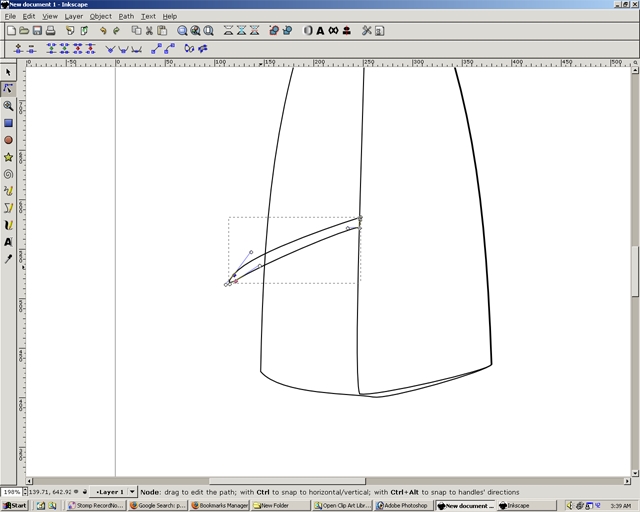
Step 28
Select File>Save As.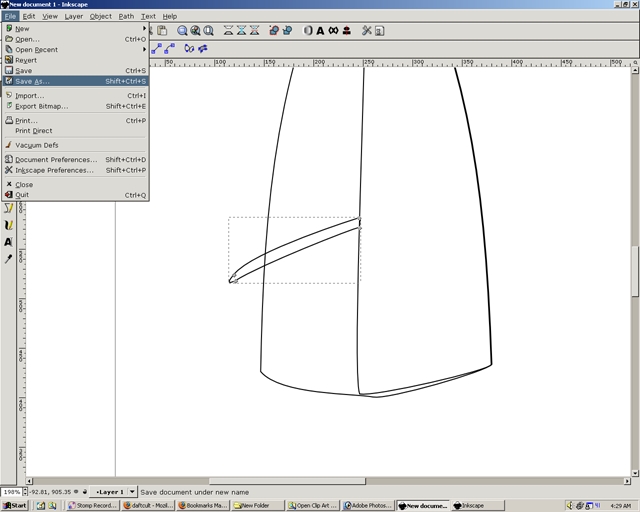
Step 29
Select the drive on the righthand side and then select the desired folder.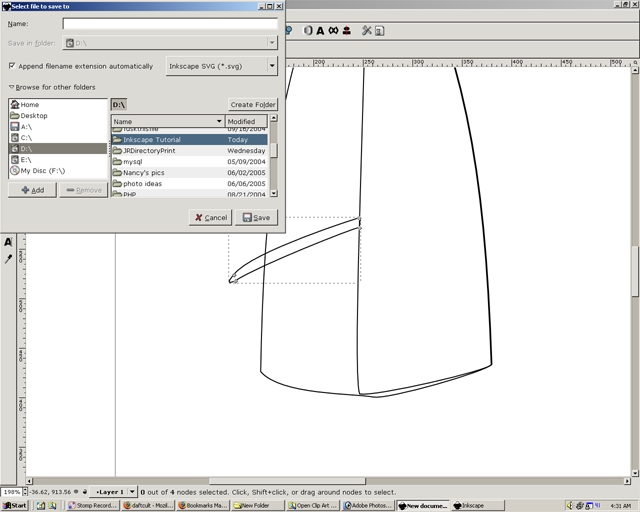
Step 30
Write the desired name and make sure you are saving the file as an Inkscape SVG file. select OK.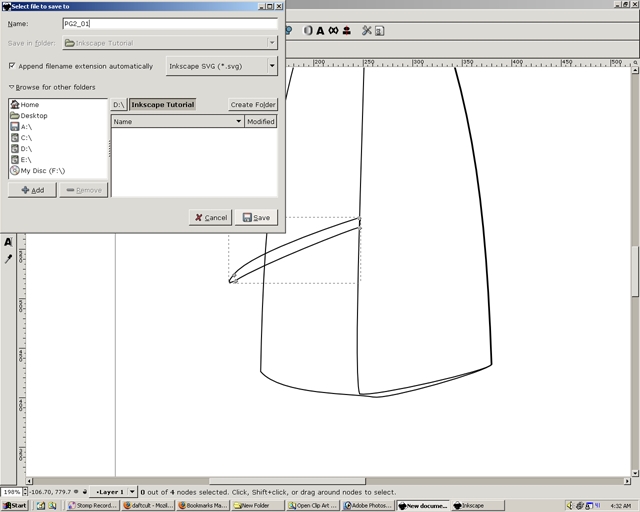
Step 31
Now the file will be saved as the name given.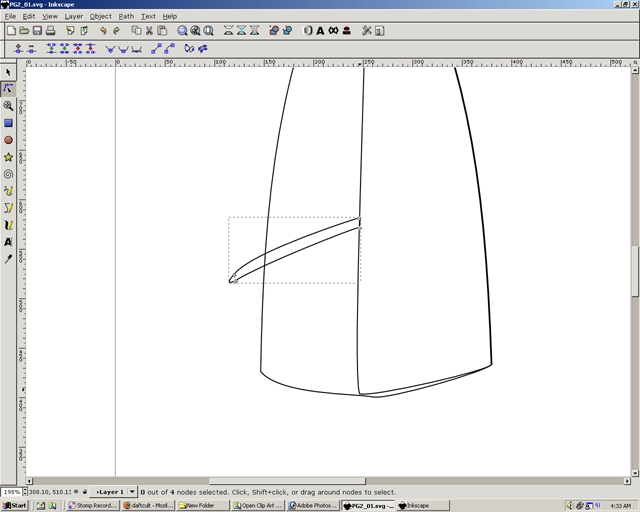
Step 32
Select the shape. Click on the Fill and Stroke icon. The circular shape to the left of the 'A' icon. Near the top right of the screen.
Step 33
Now a Fill and Stroke dialog box will appear. The fill tab wil be the first option available.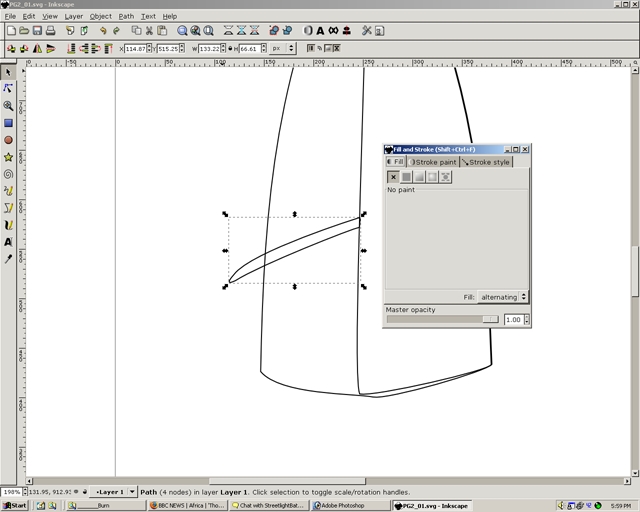
Step 34
Select the flat color square icon(next to the X) in the Fill and Stroke Dialog box. Notice the shape's inside color has changed and the Fill tab has color sliders available.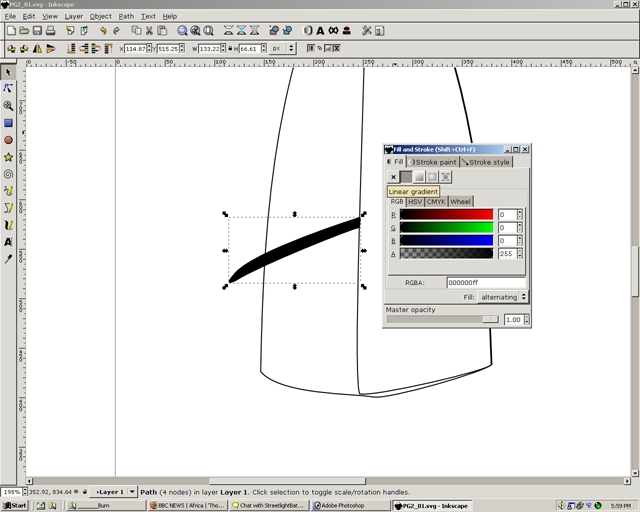
Step 35
Move the upper three sliders(R, G, and B) to adjust the color. The A is for adjusting the opacity.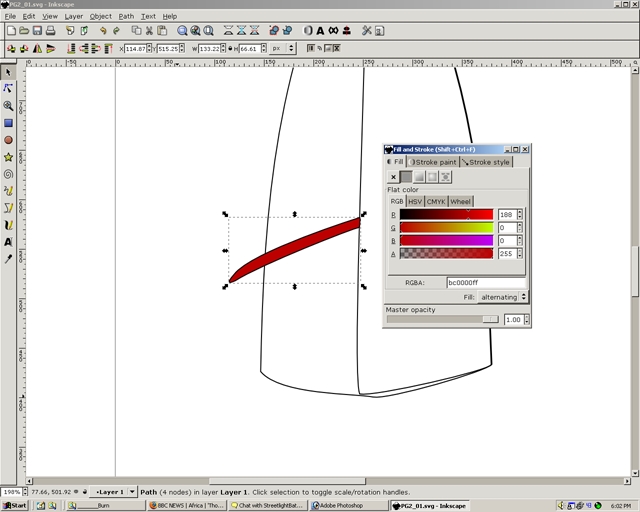
Step 36
The next icon to the right of the square is the linear gradient icon.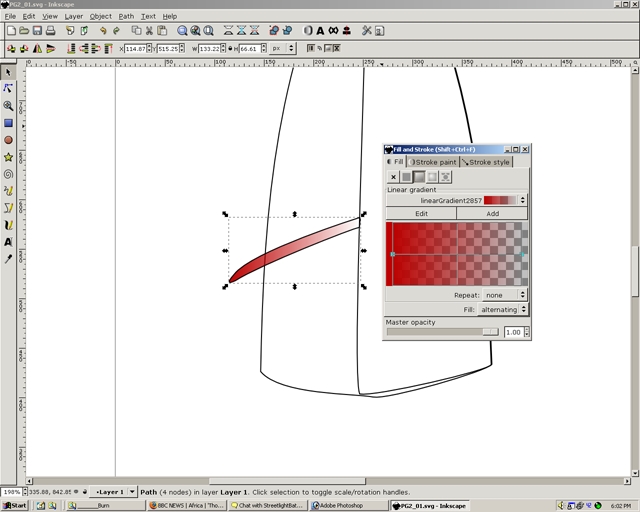
Step 37
To the right of the linear gradient icon is the radial gradient icon.
Step 38
Allow the color of the fill shape to be the same as it was before the changes were made. Select the Stroke Paint tab(the one to the right of the fill tab). Select the flat color square icon(next to the X).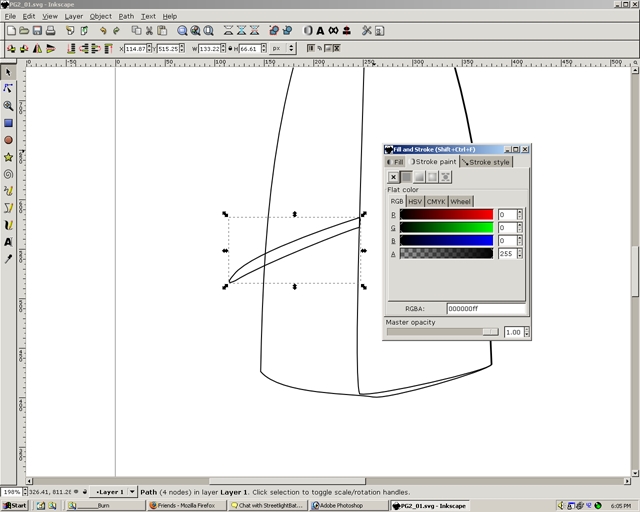
Step 39
Change the color of the line(or stroke) by using the slider bars. Notice the options are identical the fill options.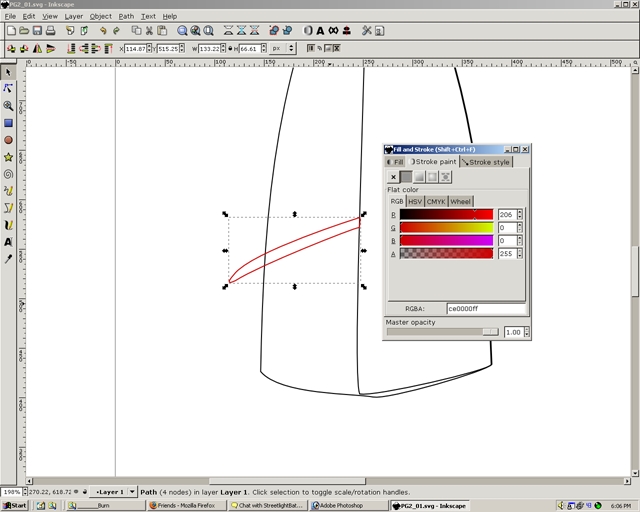
Step 40
The linear gradient tool chanes the line as shown.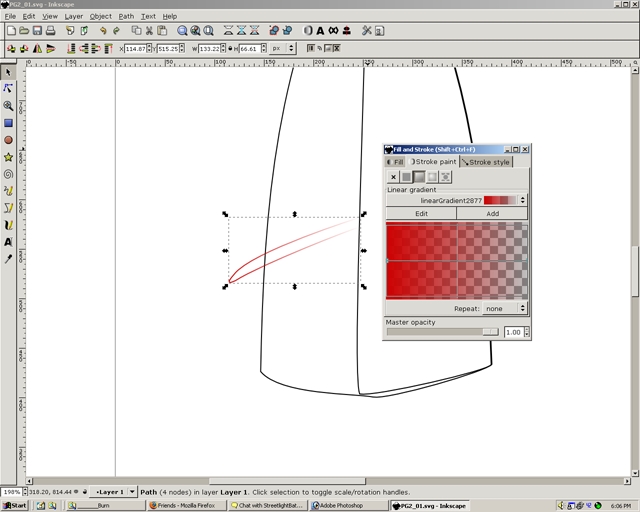
Step 41
The radial gradient tool chanes the line as shown.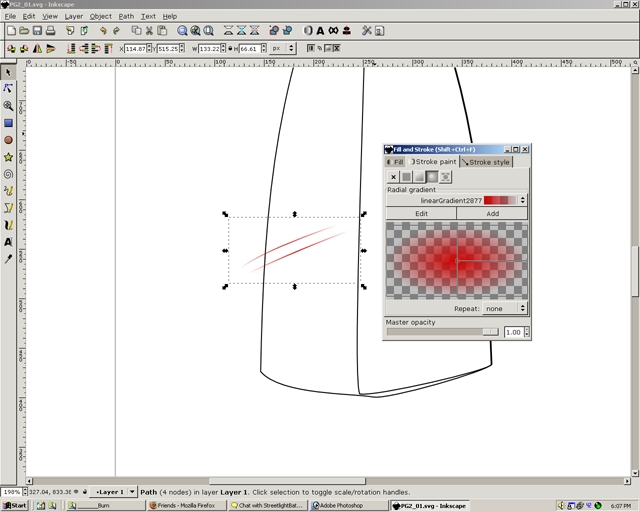
Step 42
Allow the color of the line to be the same as it was before the changes were made. Select the Stroke Styel tab(the one to the right of the fill tab). Go to the area that is called Width.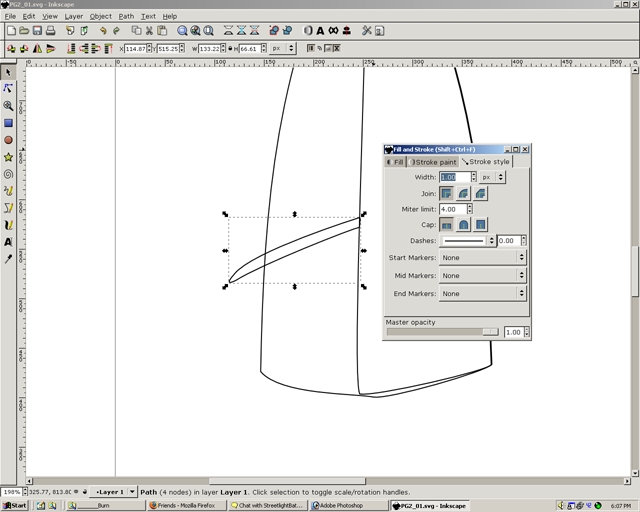
Step 43
Change the width value from 1.00 to 5.00. Click on dashes the dropdown option.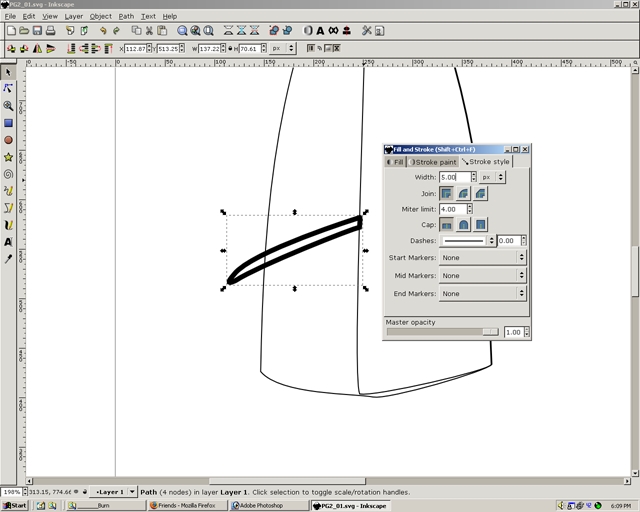
Step 44
Select a different set of dashes.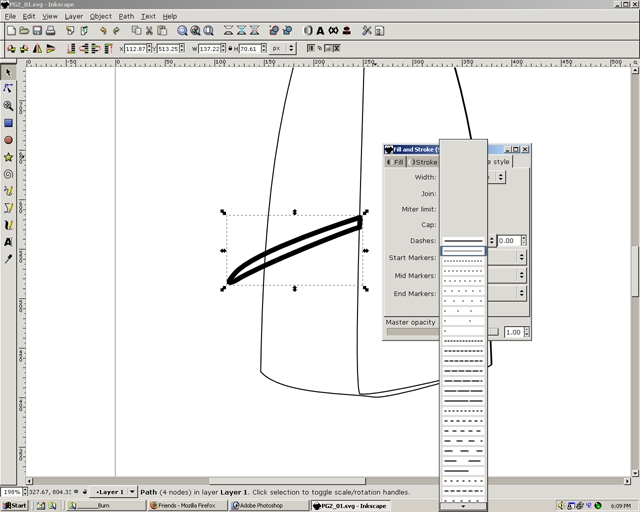
Step 45
Now the line has changed from being just clean line to a broken or dashed line.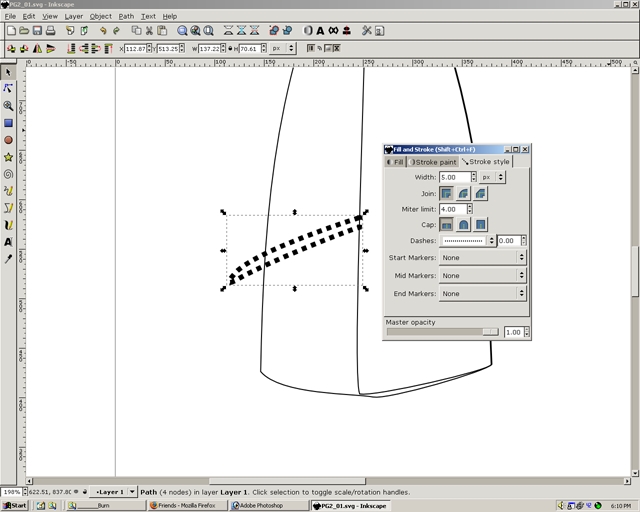
Step 46
Different dash patterns will give the line a different look.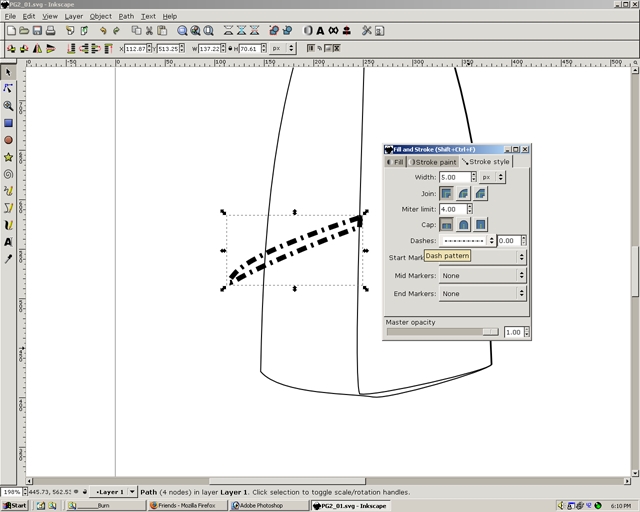
Step 47
Once again changed the shape's fill color. I used the wheel tab instead of the RGB slider bars.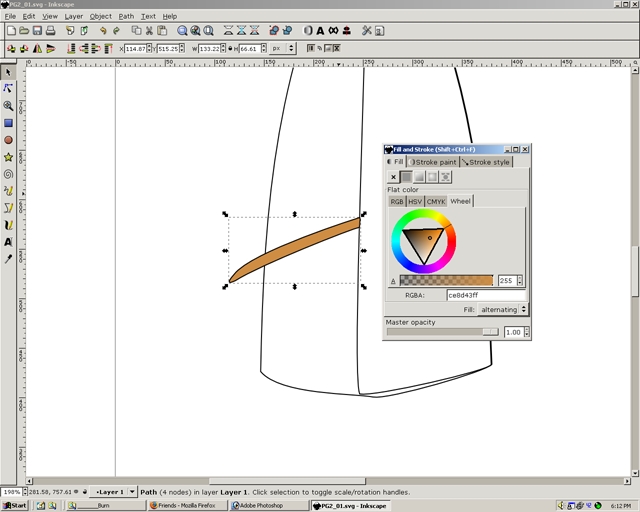
Step 48
Copy and paste the shape. Move it over. Select the flip selection horizontally icon from the upper left part of the menu. The icon looks like two upright rectangles.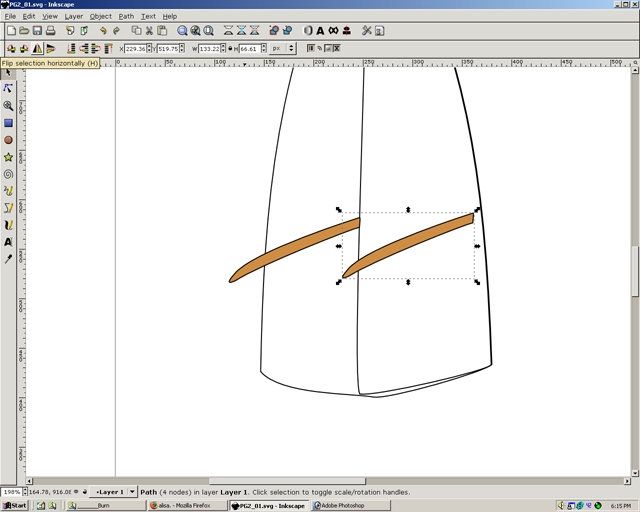
Step 49
Now the shape will be flipped horizontally.
Step 50
Align the shapes.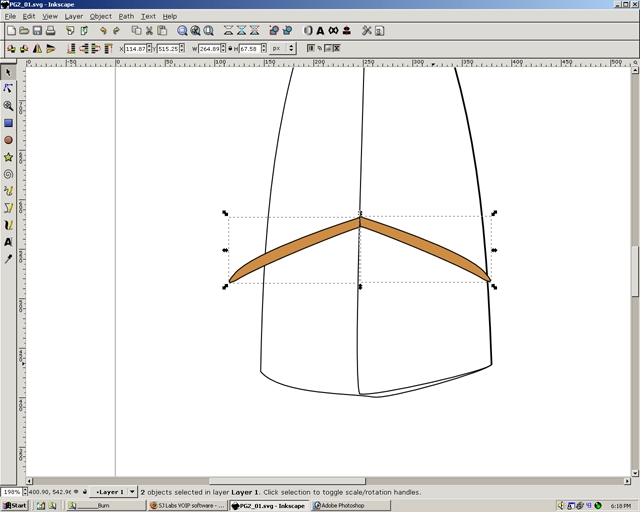
Step 51
Hold down the shift key and select the other unselected shape.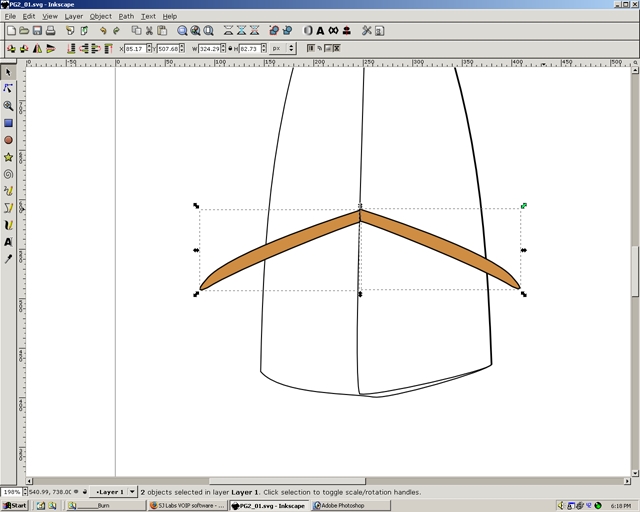
Step 52
Press the Group Selected objects icon(two icons to the left of the fill/stroke dialog icon).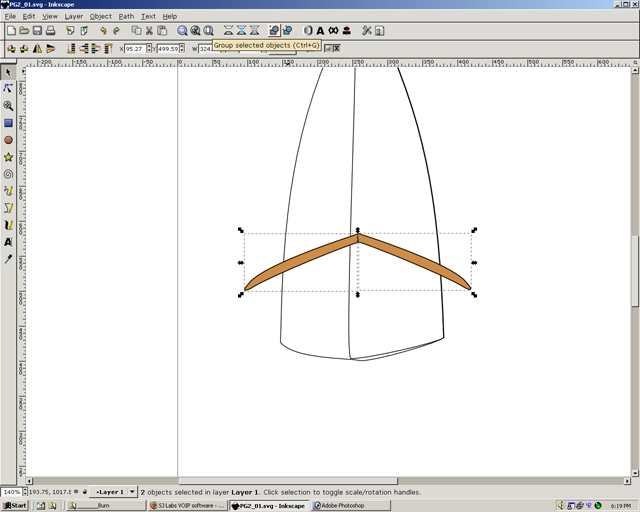
Step 53
Now the two shapes will act as one object because they are grouped.
Step 54
Copy and paste a few of these grouped shapes.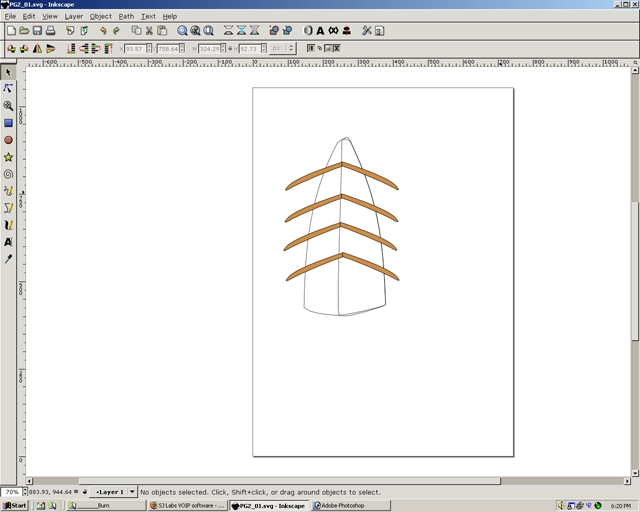
Step 55
Resize the shapes.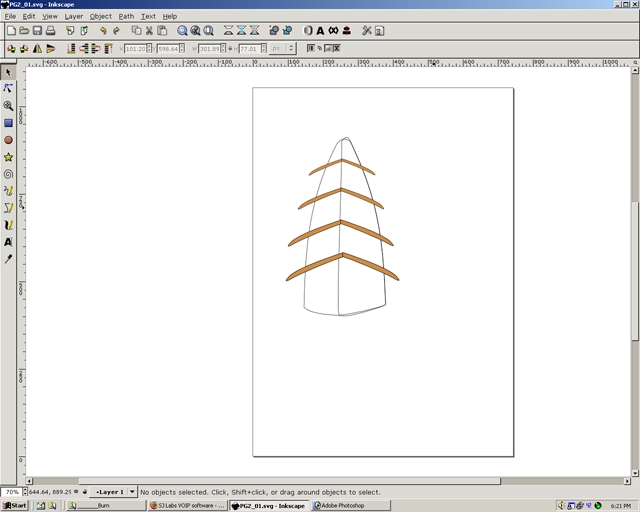
Step 56
Copy and paste the smallest grouped shape.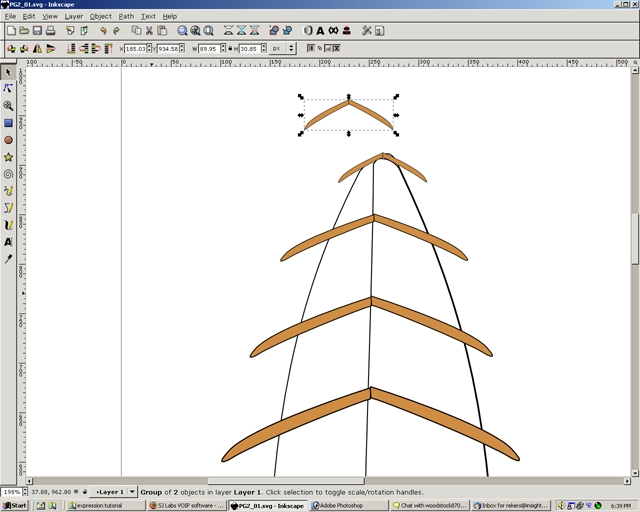
Step 57
Choose the Ungroup selected groups icon(to the right of the group selected icon).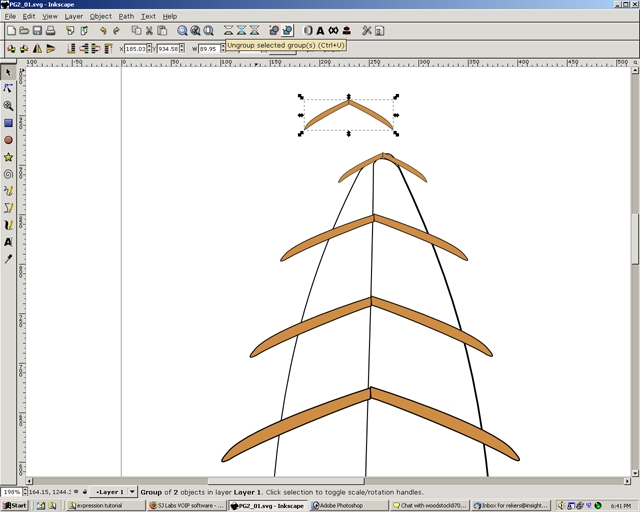
Step 58
Now the group shape will become two shapes again.
Step 59
Select one of the shapes.
Step 60
Delete it.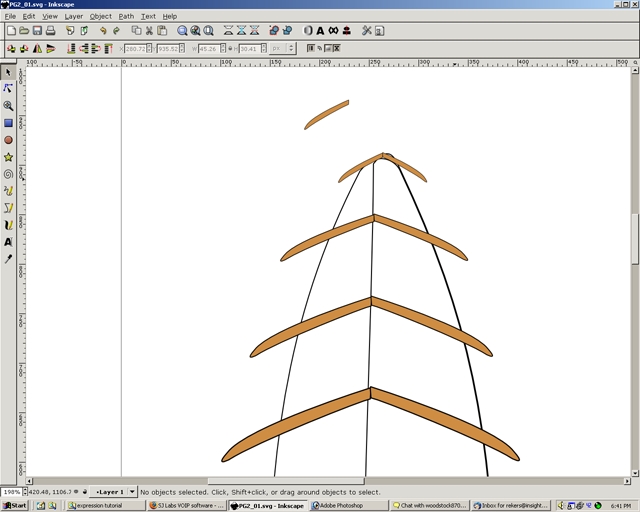
Step 61
Select the other shape.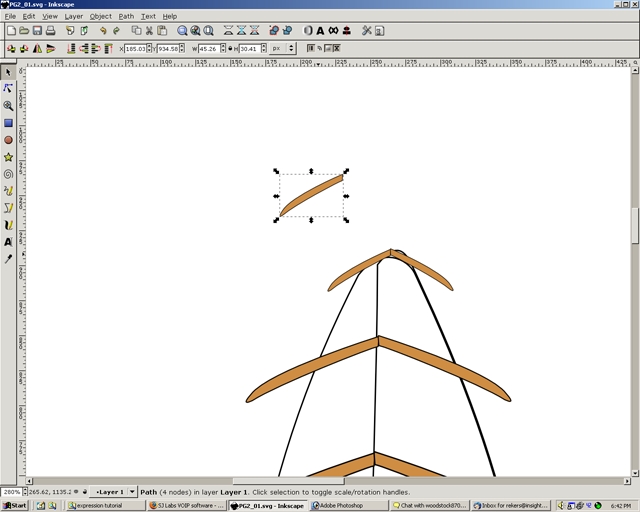
Step 62
Select it again and instead of the shape being able to be resized the shape will be able to be rotated. Notice how the arrows change.
Step 63
Rotate it as shown.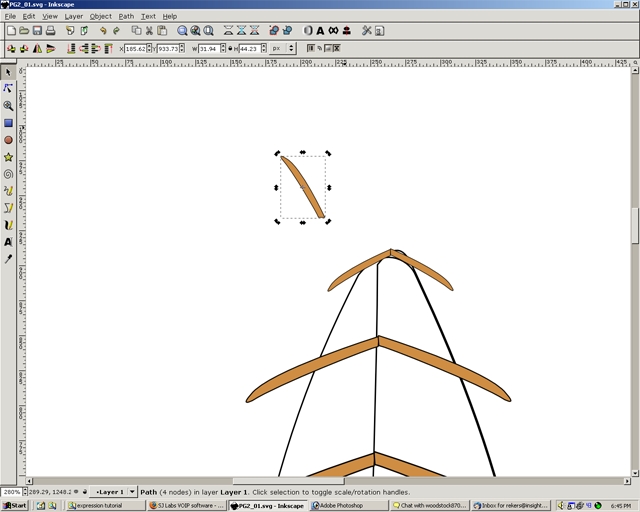
Step 64
Place the shape in the area shown.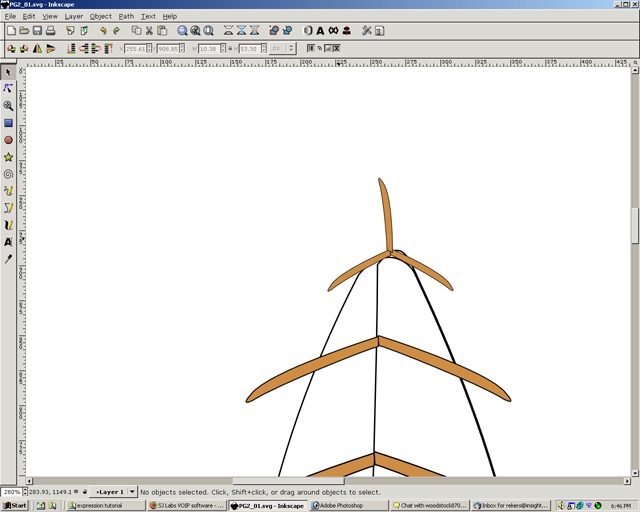
Step 65
Zoom in. Notice that shape selected is in front of the other shapes.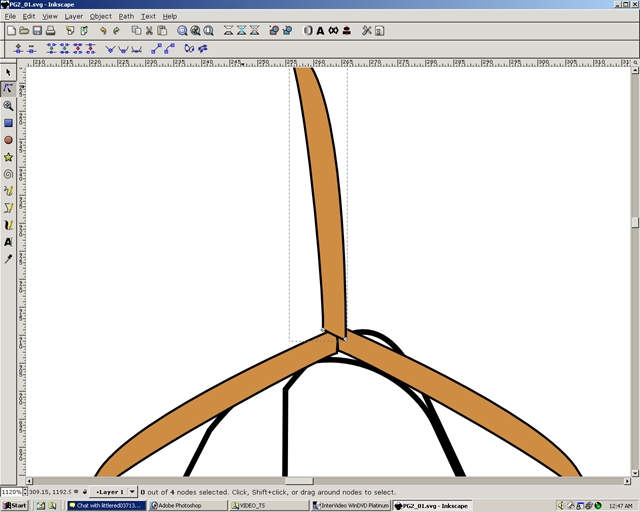
Step 66
To move the shape backward press the Page Down key until it is behind the other shapes.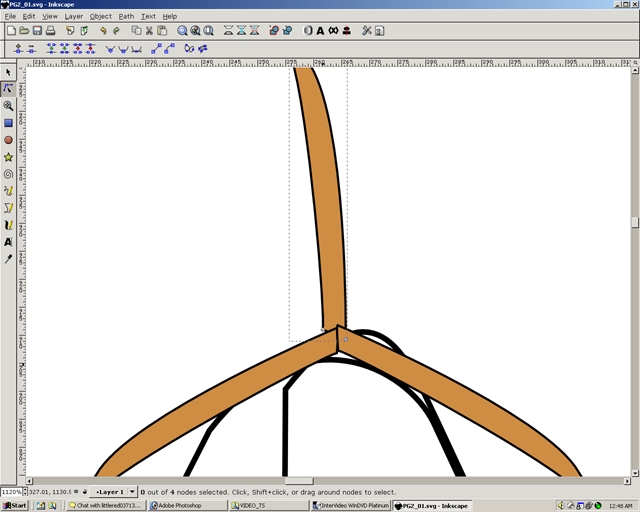
Step 67
Zoom out to see how the logo is looking.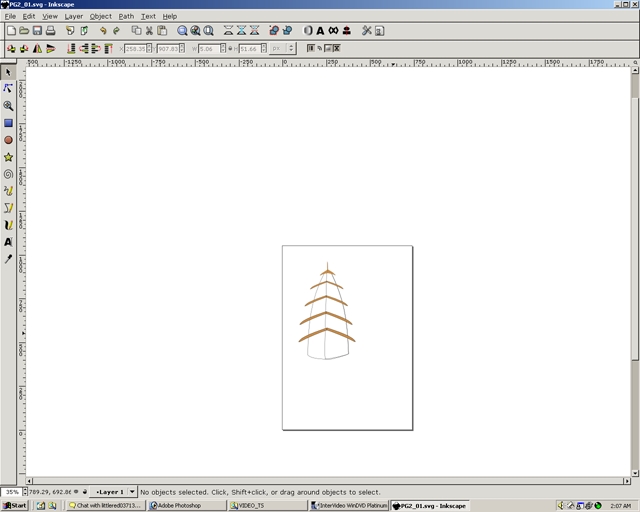
Step 68
Change the shapes to a desired color.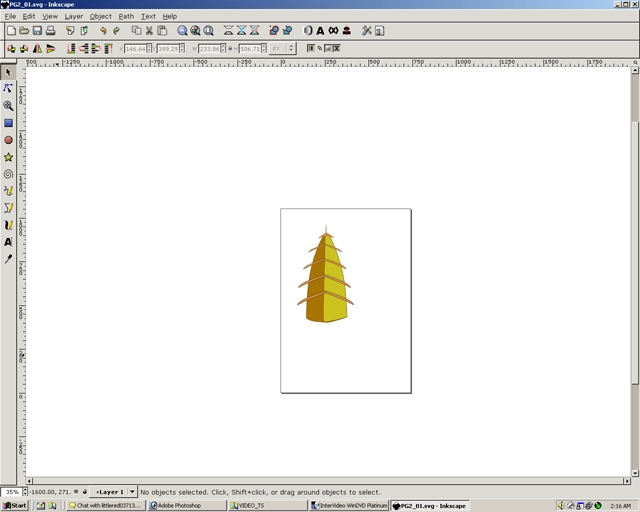
Step 69
Select all the shapes as shown by using the select tool and shift.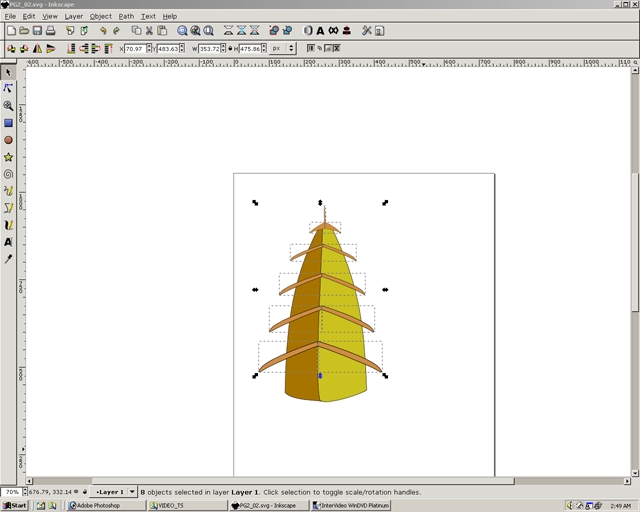
Step 70
Go to the fill and stroke dialog. This will allow you to change the color of all shapes at once.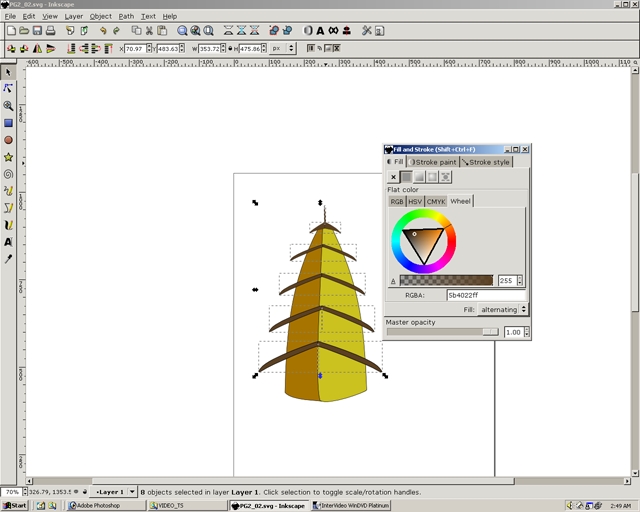
Step 71
Now you have created a slightly above mediocre logo.